Thursday, March 29, 2012

Caramel Crunch Bars, Sans Caramel


Weak month, Baking Sisters. Weak.

Yesterday was my birthday. Yay! It was also Rachel's Hebrew birthday (her English birthday is over Passover, which is not optimal for creating delicious baked goods) so we got cupcakes from Evil Crumbs. I had Evil Oreo and she had Evil Vanilla. Sinfully delicious.

Anyway, I have been baking quite a bit, but I haven't been making any new recipes. I'm going to try out some new stuff for my birthday party on Sunday and report back to you. But for now I thought I'd post about one of those recipes I've made a dozen times but, for whatever reason, have never posted about here. And where better to go for such a recipe than Dorie?

I don't know why they're called caramel crunch bars, since there isn't really any caramel involved (I guess the toffee?), but this is really one of my favorites nevertheless. I make it all the time. It's easy and it's rich, what could be better? The crust is an amazing buttery shortbread, and if you use good-quality chocolate and any-quality heath chips (you really can't go wrong with heath chips) you'll have a fabulous treat on your hands. Plus, it's fun to watch the crust bubble, and to lick the back of the spoon when you're done spreading the melty chocolate. I got the idea to put it in a mini-tart pin from a picture I saw on Tastespotting (this was before Pinterest, if you even remember such a time). It was good but the crust is necessarily going to be a little thicker, so keep that in mind and adjust your preferences accordingly. Dorie recommends using them as cookies in an ice cream sandwich but even I have to have to impose limits occasionally!

Caramel Crunch Bars

From Baking From My Home to Yours by Dorie Greenspan

For the Base

1 ½ cup all-purpose flour
1 tsp instant espresso powder
½ tsp salt
¼ tsp cinnamon
2 sticks butter, at room temperature
½ cup brown sugar (packed)
¼ cup sugar
1 tsp vanilla
3 oz bittersweet chocolate, finely chopped
For the Topping
6 oz bittersweet chocolate, finely chopped
¾ cup Heath Toffee Bits

Directions

1. Preheat your oven to 375F. Butter a 9×13 inch baking pan and line with parchment paper.
2. In a bowl, whisk together flour, espresso powder, salt and cinnamon.
3. Beat butter until smooth. Add the sugars and beat for another 3 minutes or until the mixture is light and creamy. Beat in vanilla. Add dry ingredients and mix until almost incorporated.
4. Add the chopped chocolate and mix only until dry ingredients disappear.
5. Using spatula or fingertips press dough into buttered pan into a thin, even layer.
6. Bake for 20-22 minutes until base is bubbly. Remove pan and turn off oven.
7. Scatter chocolate evenly over hot base.
8. Return pan to hot oven for 2-3 minutes until chocolate is soft.
9. Remove from oven and immediately spread chocolate over bars using spatula or back of spoon.
10. Sprinkle toffee bits over chocolate and allow to cool to room temperature.
11. If chocolate hasn’t set by the time the bars are cool, place in refrigerator briefly until chocolate firms up.
12. Cut bars into rectangles or squares.


Monday, March 5, 2012

Ethnic Flavor: Hamentashen with 3 3-year-olds


Purim, the Jewish holiday that starts Wednesday night, is really a celebration holiday.  Everyone wears costumes, has parties and eats delicious cookies called Hamentashen, all in celebration of the Jewish victory over the evil Haman.  Hamentashen are shaped like a triangle, like either Haman's hat or Haman's ear, depending on who you ask.

Hamentashen should be relatively easy to make.  You make dough, roll it out, cut circles, put in a drop of filling and then pinch them into a triangle shape.  However, I have yet to make hamentashen where the sides of the cookies don't open up.  If you have made yummy cookies and used good quality filling, this isn't a big problem, because they are still delicious, but it can be annoying to do all that work and still have them open.  When you are making them with 3 3-year-olds, this is even more likely to happen.

Some important things I have learned:
1.  You want to make the dough really, really thin.  Thinner than you would think.
2.  You should only put in a very, very small amount of filling
3.  Use some beaten egg around the edges of the circle before you pinch it to act as glue

If all these things happen, generally they won't open up, but if one of them is off, it won't work.  Most important is to use a cookie that is tasty and filling that you like (there are no rules -- you can use anything), so that even if they open, they will still be good to eat.

I used this recipe, from Kosher By Design.  Overall, they were a hit with the 3 year olds and their parents.

Tuesday, February 28, 2012

Spring Comes Early

Maybe it’s to make up for the utter lack of spring we had in the northeast last year, but it has been an incredibly mild winter. And I’m surely not complaining! Two days ago on my walk home from work, it was so warm that I got frozen yogurt! At night! In February!

In the spirit of this joyous and unexpected warmth in the depths of winter, I set out to make these beautiful Spring Cupcakes from Martha Stewart. I had seen them in my cupcake cookbook long ago and fallen in love with their exquisite elegance. I decided that I was going to put them aside and make them when my friend Rocio got engaged, because a) they are so pretty, perfect for an engagement, b) purple is Rocio’s favorite color and c) they’re kind of complicated so they called for a special occasion. But she is taking an awfully long time to get engaged. It’s so annoying when other people don’t plan their major life decisions around my cupcake-baking schedule.

I was beginning to despair that these cupcakes would ever get made when I got a message from my friend Sarah – she was having a Downton Abbey-themed birthday party, and all were welcome to bring baked goods! I could totally picture the Crawley sisters nibbling on these cupcakes and – added bonus! – purple is Sarah’s favorite color too! So I set to work, feeling rather like Mrs. Patmore and wishing I had a scullery maid to yell at. The brownie base was straightforward enough, and sooo tasty, although the tops were not quite as flat as I had hoped. I found the lavender for the icing at Fairway. Maybe I didn’t steep it for long enough, or maybe I don’t know what lavender is supposed to taste like, but I thought the frosting mostly tasted like milk and confectioner’s sugar. I was also having trouble getting it to not run off the sides and create unsightly rivulets (Mr. Carson would not approve). What I ultimately ended up doing was pouring on spoonfuls of icing from the Pyrex cup and then holding the cupcake over it, rotating so that any extra icing ran off back into the cup. You can do this a few times over if you want a nice thick layer of icing.

The edible flowers are what makes this recipe complicated, so I took the easy way out and just bought some sugar flowers instead of candying pansies or whatever the hell Martha wants you to do. Guess I’ll save that task for when Rocio gets engaged. You can find the recipe here.

Wednesday, February 15, 2012

MSC Club: Raspberry Swirl Cheesecakes


These almost didn't happen (I realize this is often a theme with baking groups).  In fact, I made them yesterday morning beginning at 6:30am.  Often, if I have all the ingredients, I feel guilty not baking, especially if one of my fellow bakers is hosting.


Anyway, this month's selection for Martha Stewart's Cupcake club was raspberry swirl cheesecakes.  The last mini cheesecakes we made for this club, the oreo ones, were so delicious, that I knew these would be good too.  They were easy to put together -- graham cracker crust, quick cheesecake batter and raspberry puree swirled in before they went in the oven.  However, this was a case of read the whole recipe before starting because I learned that they have to be baked in a water bath.  I don't have a roasting pan big enough for my cupcake tins, so I lowered the temperature and baked them without the water.  They puffed up beautifully, but once they started to cool, the majorly sunk, which I assume was related to my baking method.


I haven't had a chance to try them yet, but I assume they are delicious.  Cheesecake and raspberry -- what could be bad about that?  Many thanks to Gem of Cupcake Crazy Gem for hosting.  Check out the MSC website for all the other bakers.

Saturday, February 11, 2012

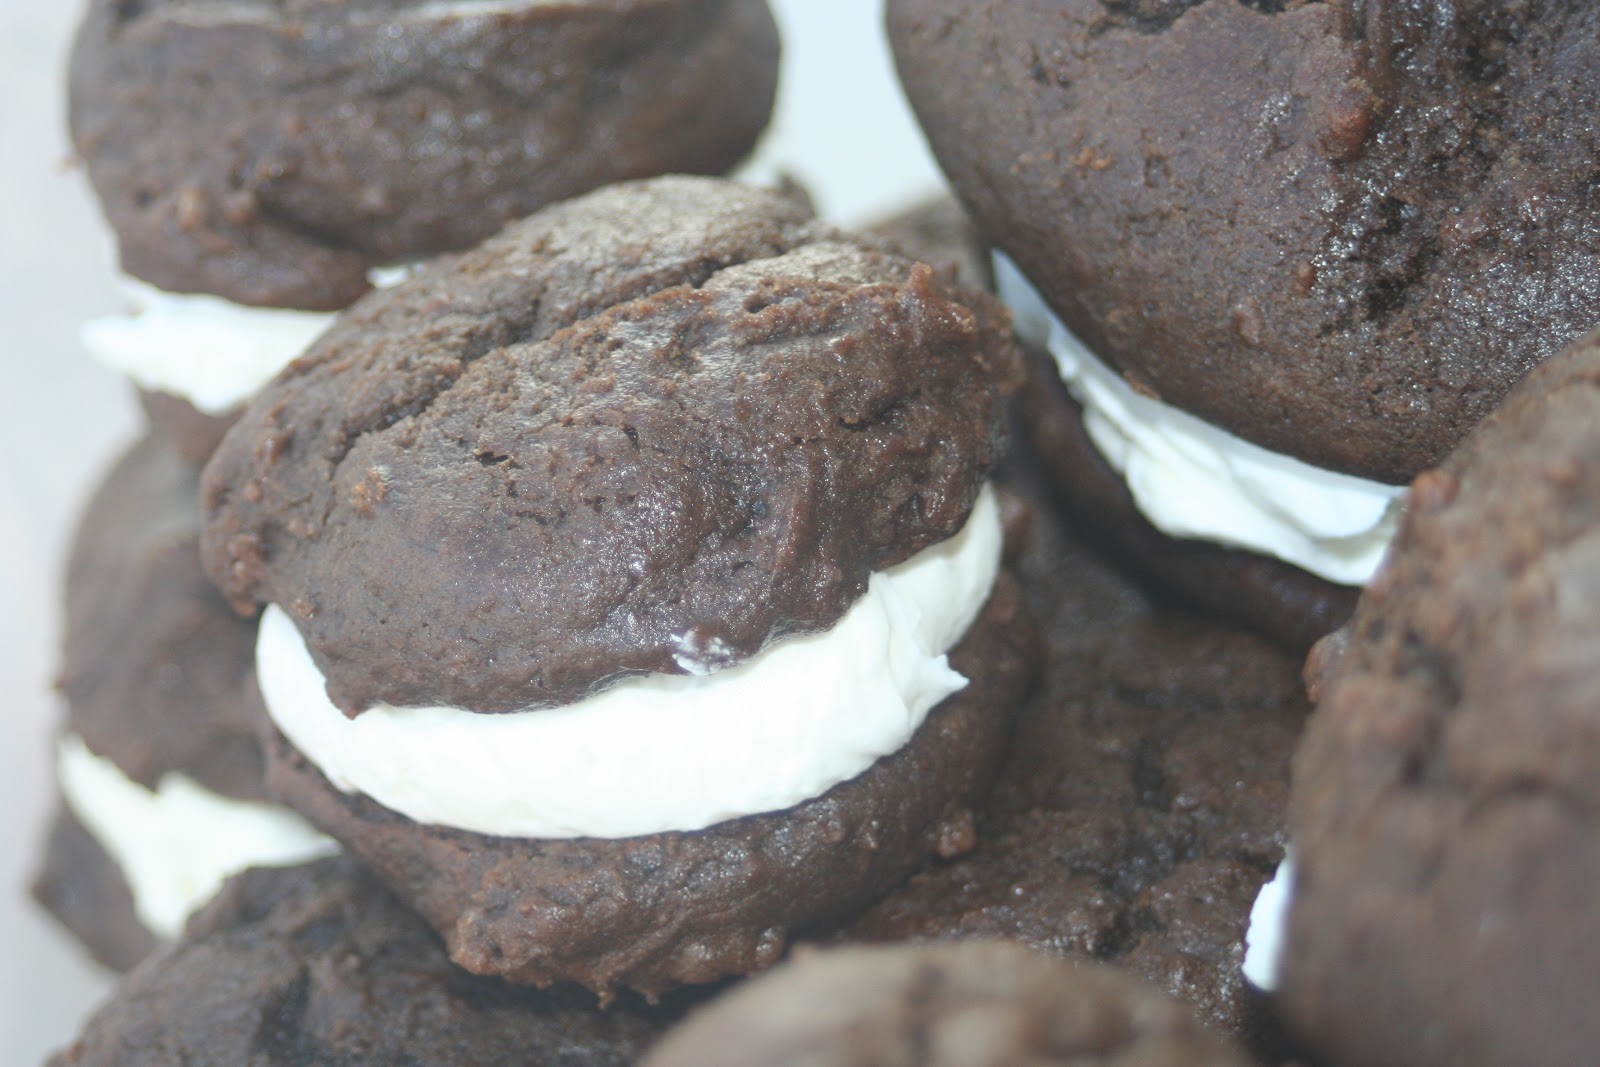
Baked Sunday Mornings: Chocolate Whoopie Pies


This week's Baked Sunday Mornings was chocolate whoopie pies, a fairly straightforward mix of 2 chocolate cake cookies with a marshmallowy frosting.  These were easy to put together -- the cake didn't even require a mixer and the frosting came together quickly.

I enjoyed these, as did the two events I brought them to (the recipe said it would make 15-17 small pies, I got 24 small and two very large).  However, knowing the enormous amount of butter in the filling made me think that they could have been just as good with a less rich filling.  Even at a small size, one is really enough.  I was thinking that the filling could also be made in other flavors -- salted caramel, mint, or raspberry (which would make a nice Valentine's day pink color) all came to mind.  I will certainly try that in the future.

You can find the recipe and all the other bakers' creations on the Baked Sunday Mornings website.

Thursday, February 2, 2012

Sugar and Spice and Everything Nice...

…That’s what pain d’epices are made of. I can’t pronounce it but it translates to “spice bread” or gingerbread, even though ginger is one of the few spices not in it! This was another one of those instances where I saw a gorgeous, mouth-watering photo on Tartelette and vowed that I would make it happen. At least this time it only took two months instead of two years. I was a little worried about the dent that all of those spices were going to make in my bank account, and then one of my officemates told me about how the Indian supermarket down the street from our office sells super-inexpensive spices. And behold, they did! I got all the spices I needed for a little over twenty dollars (and almost half of that was the cardamom, which is guess is pretty pricey anywhere you go). I ground ‘em up in my food processor, although I have to say that at 50 grams each, it was WAAAAAY more than I needed. As in, there are two sandwich bags each three-quarters full of ground spices sitting in my freezer. There’s no way I’ll be able to use them all, even if I make pain d’epices every day for the rest of the year. But hey, it’s giving me good incentive to make them again! That, and the fact that they were soooo good. I was worried that they wouldn’t be sweet enough, and the spices are definitely prominent (especially the peppercorn), but I have to say that the balance was totally delightful. They were dense yet springy, and yeasty, almost like baked donuts. Plus, they smelled awesome and looked adorable. These are a really fun winter treat for anyone in possession of a mini-bundt pan.

Pain D'Epices:adapted from Saveurs France, December 2011.

Makes 12 mini cakes

Ingredients:
For the spice mix:
equal parts in ounces or grams (I usually go by 30 grams of each & refrigerate)
cinnamon
cardamom
clove
star anise
black peppercorns
dried lemon peel
dried orange peel

Place the cinnamon, cardamom seeds and the rest of the ingredients in a coffee grinder and process until finely ground.

For the cakes:
1/2 cup honey
1/3 cup packed dark brown sugar
3/4 cup milk (Bloggers note: for whatever reason, I had cream but no milk in the fridge, so I used cream. Don't think it affected the cakes negatively)
1 cup Jeanne's gluten free all purpose flour mix or regular flour
1 1/2 teaspoons baking powder
1 teaspoon spice mix for Pain d'epices
4 tablespoons unsalted butter, kept cold
1 large egg

Sugar coating:
equal parts sugar and equals spice mix stirred together well.

Directions:
Preheat the oven to 350F and position a rack in the middle. Butter 12 mini bundt cake pans or other of your choice.
In a small saucepan set over medium heat, stir together the honey, dark brown sugar and milk until the sugar is dissolved. Remove from the heat and reserve.
In a food processor or with a pastry blender, combine the flour, baking powder, spice mix, and unsalted butter until the mixture resembles coarse crumbs.
Whisk the egg into the cooled milk mixture and add it to the flour mix. Pulse a couple of times until the mixture is smooth. Divide the batter evenly among the prepared molds and coo 20 to 25 minutes or until a knife inserted in the middle comes out free of crumbs. Let the cakes cool completely before rolling them in the sugar coating.

Sunday, January 29, 2012

Blondies Have More Fun


Okay, so the title of this post is almost groaningly inevitable. But when I brought these in to the office on Friday, a surprising number of people asked, "What's a blondie?" I explained to them that it's basically a brownie but without the cocoa powder and with brown sugar. How sad that we live in a world where more people don't know about blondies. Anyway, last weekend I knew I had a busy week ahead and that I probably wouldn't have time to bake on Thursday night, so I made these confections from the Amy's Bread cookbook and put them in the freezer. They were quite simple to make, and the batter was absolutely the most gorgeous ochre color (and yes, I went on Wikipedia to find the exact correct shade of Brown that the batter was. That's how beautiful.) The color didn't quite hold throughout the baking, but it's okay, because these blondies were off-the-charts good. Chewy, super-rich (make sure you have a glass of milk or water on hand), but not too buttery or greasy. These were the most popular thing I've brought to the office since I started Baked Goods Friday six months ago - they were gone by noon, so I guess that speaks for itself! You can find the recipe here - I, of course, left out the walnuts - and be sure to spread the gospel of blondies.

Related Posts with Thumbnails